BoF2 The Polish Requiem – Advanced Squad Leader AAR
Scenario Background

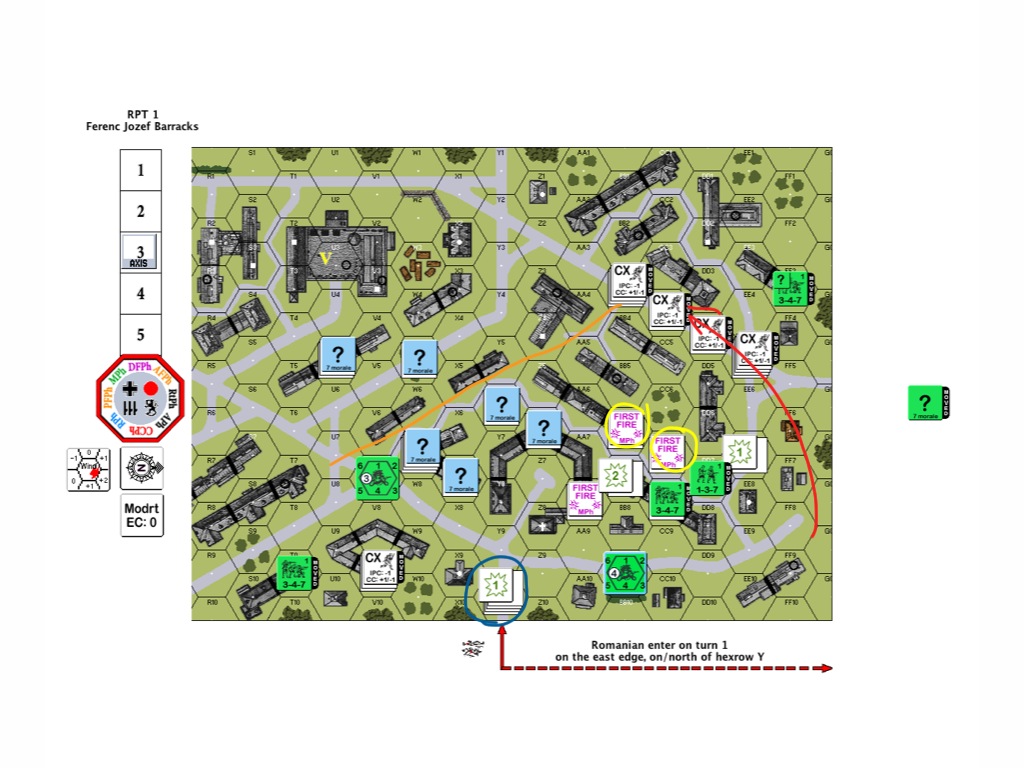
(Drawn Map By Alex79 – Own work, CC BY-SA 3.0, https://commons.wikimedia.org/w/index.php?curid=10843864)
It’s 14 September 1939. Guderian’s Panzers broke through the defensive lines at Wizna and Mlawa. The Blitzkrieg headed towards Brzesc-Litewski, the lost of the latter would mean the encirclement of the Polish forces in Warsaw. The Poles fielded some old FT-17’s to stop the tide.
Victory Conditions and Tactical Considerations

The Polish 82nd Regiment fielded 4 squads onboard with an MMG and a 8-1 (plus 5 Concealment counters). They were supported by four FT17’s from the 113rd Light Tank Company, two with CMG’s, the other two with 37mm guns. They would have to hold the line before they were joined by four other FT17’s, 7 squads & a 8-0, an MMG and a pair of DCs.
The Germans had to run 8 squads, 2 9-1s, a 7-0 down the length of the board in 6 turns. They were supported by 7 tanks, two of which had to arrive in the magic (VC) circle with everything intact along with 3 squad equivalents . Turned out that was a bit of a challenge.
Advanced Squad Leader AAR

The German AFVs sped forth using their sD to lay smoke for the infantry where they could! They also looked to provoke the 37* wielding FT17C’s to shoot so they could tell which was which. The moving German AFVs made pretty bad targets in that the 1MT (1 man turret) Poles needed at least a +4 to score a hit. The troops then flooded forth ‘cause it was either losing by the squad or losing by the clock. An AFV shot a FT17M and ATR shot another. A Bounding Fire shot from behind killed a FT17C. The other one’s peeling off. The German lucked out in the Polish turn when one of their 75*s PzIVC scored a hit on the unconcealed MMG in the Board 4 double hex wooden building and they eventually encircled and overwhelmed the tenants there.
Polish reinforcements arrived. A stack got rather unlucky and was shot and broken by a low power shot (it’s always the low power shots that kill). A pair of FT17C’s appeared ominously BEHIND us.
Plus you know what? I already X’d one Gun and malf’d another one at this stage. That’s five left and I needed two.
.jpg")
The Poles blocked up my left flank! The pair of reinforcing FT17C scored a critical hit on one of my AFVs while a second German tank got recalled – four left. A PzIIA and the ATR HS went after a FT17C. That thing failed its non-platoon movement roll and had to stop! Down at the bottom of the map, a PzIB tried to speed away after FTR’ing the stack of broken Polish reinforcements. The Polish 8-0 had a DC and looked to exact revenge but yet failed his PAATC and was pinned and separated from the rest of his troops. (Note: I played this wrong because SMCs are exempted from PAATC’s. This would have been interesting in that it might have taken me down to three functioning AFVs. My apologies to my opponent.)

.jpg")
It was Polish Turn 4 and the Germans only had 2 MPh’s left to make it to the magic circle! From the looks of it we could BARELY make it especially with that bloody grain field there. I needed to do something about the 3 MGs (two FT17Ms and an MMG) on the bottom left. To that end, a PzIIA ran to the end zone to spook them a bit and the ATR team went up the hill. That ATR’s also there to cover the pair of AFVs that went up the other side of the hill to face off the FT17C(37*) closing the range behind us. The rest of the troops hurried across the board as fast as they could.
.jpg")
The pair of FT17C burned another one of my PzIVs on the hill – three left. The PzIIA in the end zone shot one of the FT17Ms and the ATR team shot the other, but wait, there’s more – the Polish MMG malf’d itself out. You really can’t do anything wrong when the stars line up! The other AFVs tried to laid down smoke but none of the sD’s worked. Nonetheless, it’s time to rush it or lose it. We made it to the other edge of the grain field, CX’d but otherwise intact. The Poles conceded.
How’s this scenario interesting?
 BoF2 A Polish Requiem has long been a classic. It’s a whirling dervish of a battle!! Polish AFVs were slow but those 37* kills on a 7, pretty respectable considering most German AF’s 1. The German forces might seem overwhelming but these guys were tied to a timetable. If the player on the Polish side keeps his PMC (read: Personal Morale Check) he might win this scenario yet. The German AFVs might X themselves out or folks might get delayed just enough. Had the Polish MMG at the end zone not X’d out it would have been harder for the Germans. Scoring 37 (Poles) vs 27 on ROAR, I recommend this scenario unreservedly.