AP143 Late for Chow After Action Report (AAR) Advanced Squad Leader scenario
Scenario Background
On August 29 1944, the “Pathfinders” of the 8th Infantry Division, the first infantry division to have broke through into the Brest area, was counterattacked by elements of the Fallschirmjäger-Regiment 7 near Kergroas!
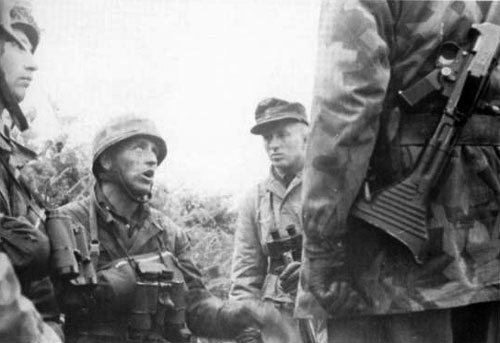


(Images: Fallschirmjägers, 8th Infantry division, 8th Infantry insignia (“Golden Arrow”/“Pathfinder”), 28th Regiment insignia)
Tactical Considerations
A dozen German 5-4-8’s with 4 leaders enter the map from the bottom (south) and they were to either exit through the top (north) and/or occupy 4 designated buildings with at least 8 VP’s in 6.5 turns. They would be met with 8 US squads deployed in 2 groups on the bottom map. 3 other squads with a 9-1 (and a 6+1) would enter through the top in Turn 3. The Americans have higher firepower, a longer range and a lower morale. The Germans have lower firepower, shorter range and much better morale, plus their ELR is slightly higher. The wide open space where the Germans entered would no doubt give the Americans the advantage. The American in most cases could blast away with 6 FP and get 2 FP coming back, plus they had 2 MMGs and a M2 mortar in play. The strategy for the Germans seemed to be to run through the gauntlet with their higher morale and shoot back when they could (if in range, they shoot at 4 FP regardless of they were running or standing still). To be caught in a firefight here would be a bad idea. Once they got through to the bocage, their difference in range would even out but yet they had to keep moving before the Americans could solidify their defences. It’s best, of course, to cross as few bocage hexsides as possible.
Run through the open, dive into the bocage and keep the parade running through 6.5 turns to the top!
After Action Report

We entered from the bottom and we didn’t stop for the broken or wounded. We kept an LMG on our left flank to keep the Americans away. The Americans on our right were out of range and got ahead of us. They had a total of 8 squads and 8 OB given concealment but we didn’t wait to find out who’s which. Good thing was that CX’d Americans didn’t shoot very well (apart from that mortar, that mortar’s evil, knocked around my forward leading 9-1 with a CH in the Woods).

We made it into the bocage!! My broken HS escaped (bottom right), even my wounded 8-0 hopped along and joined the boys. The Americans started to swamp in from both sides. When the American reinforcements join in from the north they would complete the fire sack. We could win a standing firefight in the bocage but we didn’t want to give the game away to my (often atrocious) die rolls. So we stuck with the strategy and kept flowing through the gaps. The American reinforcements had our range and firepower (5-4-6), yes, but we didn’t want to let the defence gel up around us.

We leaned right and gather behind one bocage wall and called up our rear guard. It was time to go and the way not to get hit was to not be there when they got there! A squad sneaked behind the Americans on the far right so they couldn’t conceal. Each turn was a frantic rebalance between how much to stick around to keep the bad guys from shooting us in the back versus hauling ass northwards.

We busted through to the right! The Americans routed back and we scrambled behind the bocage wall as far north as our legs would take us. It appeared that we got 7 VP’s in personnel up front and they were within range to get off. A hero took point and kept the Americans from getting Wall Advantage at key points.

The Americans did a fine job solidifying regardless! They had a couple of leaders who made sure they snatched an MMG away from some brokies and handed it off to a squad for the last turn. They laid down a beautiful Firelane-from-Hell. We needed 1 additional VP to get through and we got 2 HS 2 Squads and 1 Leader making the bid. At the end, I got 1.5 squads KIA’d and the rest broken/pinned. No one got through!
At the end, the Germans lost by 1 VP.
How’s this Scenario Interesting?
Close games are often the signature of great scenario designs! (It’s 15:19 against the Germans on ROAR.) It’s one of these rarer games where both sides have to constantly trade off between moving and shooting. Of course they were hardly enough time to Prep so both sides largely took turns lining up hasty defences and hoped to throw enough friction into the other guy’s movement with Defensive First Fire. The hide and seek in the bocage while constantly on the go is simply fantastic! I rather enjoyed this scenario.