Advanced Squad Leader scenario BFP15 Cobra’s Venom
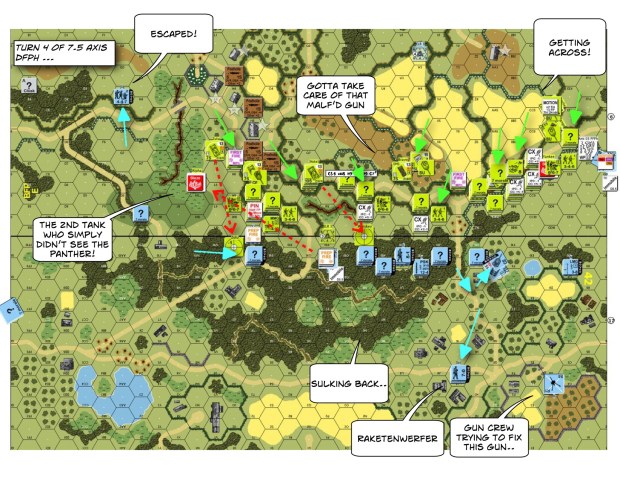
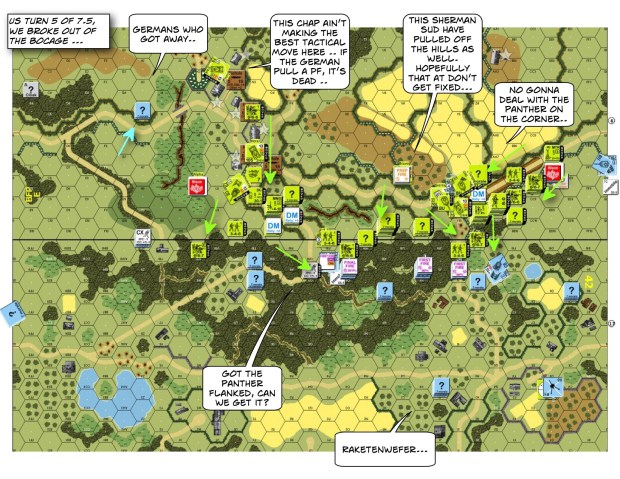
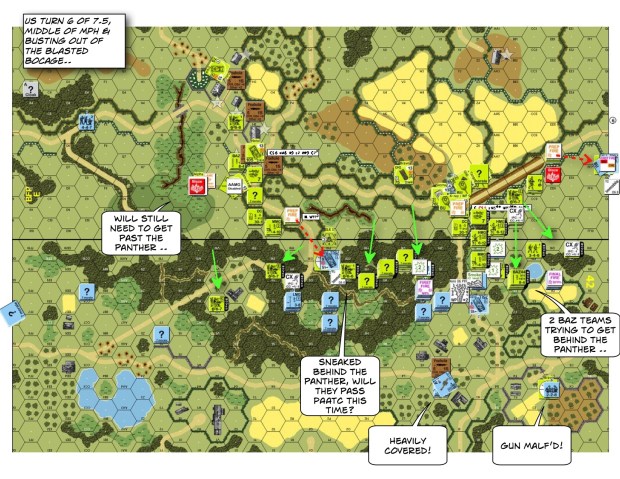
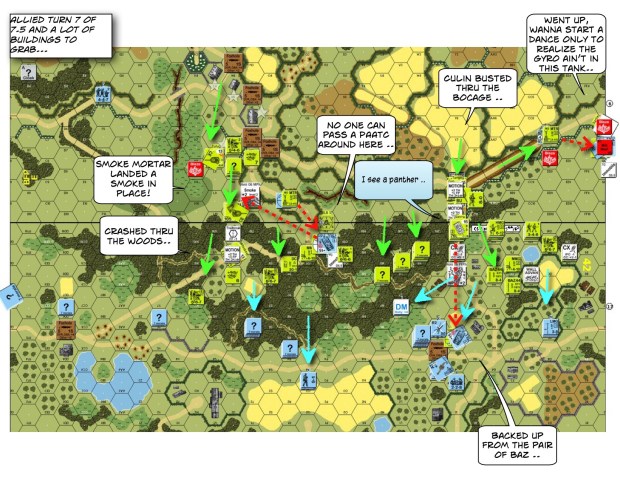
You are going to see a lot of bocage country. We are going to play the whole of BFP Operation Cobra front to back. We already did BFP14 Opening Phase, so this is the second one ..


You are going to see a lot of bocage country. We are going to play the whole of BFP Operation Cobra front to back. We already did BFP14 Opening Phase, so this is the second one ..
Ongoing
Ongoing
This 1943 scenario offers the Russians a 200mm Rocket OBA with a preregistered hex. The 200 mm is a massive but a one shot deal and it wanders by half a dr. You can’t aim nor correct the thing (it’s automatically inaccurate)! I started the scenario off being less than thrilled about the usefulness of it.
Since Rocket OBA uses a Harassing Fire’s Blast Area, I figured this thing will touch a 5/6 hex area (the rules don’t say whether the error’s rounded up or down.) The GameSquad crowd pointed out there are certain merits to holding off on it so that the Germans will avoid crowding. I put my PreReg hex on 63Q10.
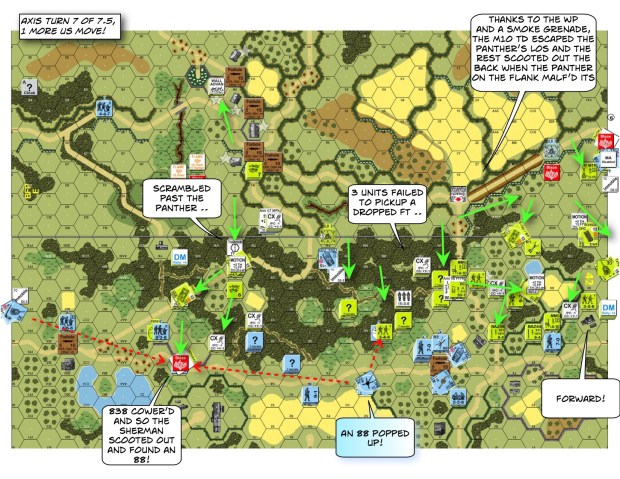
The Russians (I) pushed through the middle – first by largely Assault Moving on board to avoid damage from the various machineguns trained in my direction. Then the Russians executed a Human Wave to rush into the woods ahead. I’d love to say it’s a brilliant move but reality is that I benefited hugely from my opponent’s horrible die rolls.
Oh yes, the Russians get points for taking the multi-hex buildings and by rushing units into the circled area on the right of the map. The Russians win when they stack up 8 points.


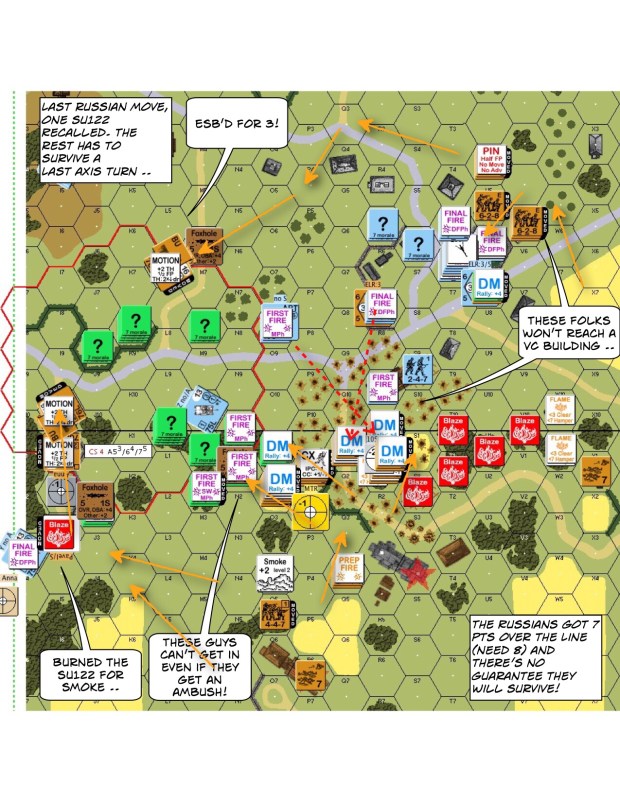
This one’s an interesting scenario. I read the VC wrong though, or really, I didn’t really understood the VC. The VC called for 8VPs and the Russians can achieve it in one of two ways:
The defender has to get the right balance between defending against the two – defend the buildings and risk getting surrounded or backup to the rear and risk losing the buildings.
Thoughts?
Ongoing
This week we started with an old design, CH18. The Germans have to take 2 out of 3 hilltops and earn more CVPs than the Russians. Aside from the standard CVPs, the Germans get points for clearing out the six hexes around the hilltops. Likewise, the Russians get (a lot more) points if they can stay around the tops.
This scenario has a very interesting simultaneous setup with a die roll deciding who’d go first. As my opponent quipped, going last might not be a bad thing as you can simply advance onto the hilltops. The nature of this arrangement means opposing forces might “materialise” right in front of you at game start! There’s an SSR that gives the defender in the first Prep Fire phase the ability to Gun Duel and shoot back.
The German entry edges are the top and the left. However, since the Russians can only setup in the red circles. Germans can attack from the right if they like, if they are comfortable with Russian reinforcements coming in behind them from the right and the bottom of the screen.
I am very mindful of a few things when I did my Russian setup.
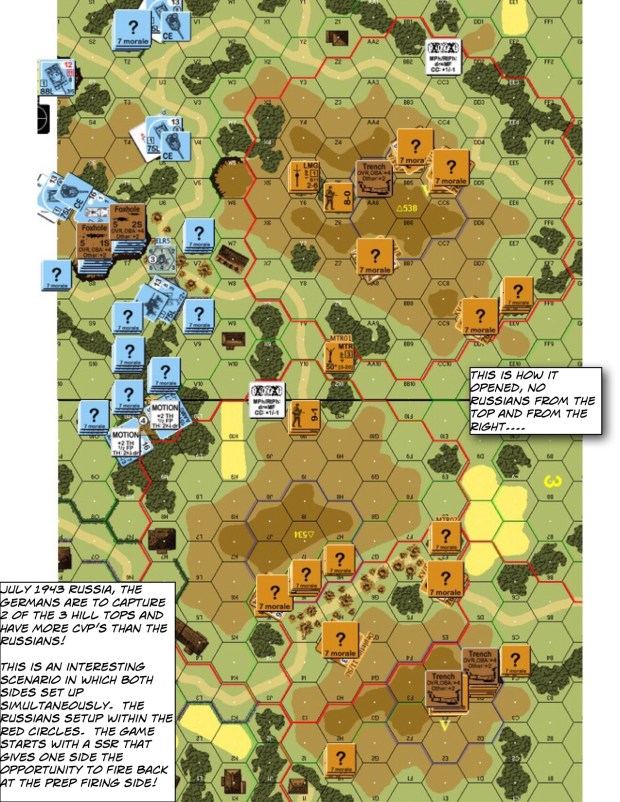
 Ladies & gents – don’t be like me. I misread the SSRs to this scenario and thought that German reinforcements can only come in from the top and to the left. No – the German reinforcements come in from the top and the RIGHT and the Russian reinforcements come in from the bottom and the left.
Let me elaborate further. This scenario has a rather creative SSR which allows you to purchase half your lost CVPs as reinforcements. The restriction is that you can only purchase half the # of each unit type in your OB.
While my 76L Artillery (hill top on the bottom right) finally fixed itself and did a number on a German deathstar, my deployment was oriented towards attackers coming in from the left and not the right. *Horror*
The Germans sent a STuG up Y9. Since it’s bypassing the woods, it’s considered on the upper level. Non Turreted as it is, its TH after all the modifiers was comparable to mine, even though all I had to do is to turn my slow turret. I fired and missed, APCR and all. He fired and connected.
The Germans then sent a STuG up “behind” us on the right, looking to take out the KV1 with the 9-2 Armor Leader. Fortunately its’ within reach of the Hero & his ATR on the hill on the bottom right. He directed the pinned HMG to stun the STuG crew. The KV1 then swung his turret around and Shocked him.
Unfortunately, the Germans got rid of that Shock immediately after. The KV1 now faced a choice : whether to run or to shoot the STuG again. If I run, it’s quite likely that I will be shot. If I stay and shoot, my TK is 13(+1) vs his AF of 8. I have a 3 CVP 9-2 armor leader in this thing.
I shot, connected and killed the STuG, much to our relief ..


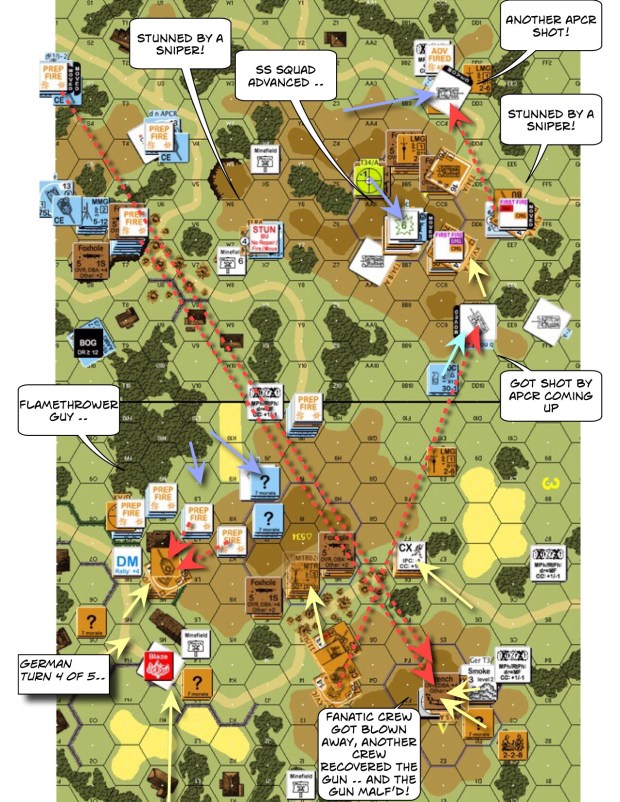
One more German move to go and all three hill tops are still under Russian control, Germans resigned.


Other running AAR(s)
Mostly Stories about American Marines
Blogging Advanced Squad Leader AAR After Action Reports since 2013
Advanced Squad Leader Scenario After Action Reports
Blogging Advanced Squad Leader AAR After Action Reports since 2013
History and Hardware of Warfare
ASL & The Path To Redemption
Comprehensive Resource for Advanced Squad Leader
Washington DC Area Advanced Squad Leader Game Club
Blogging Advanced Squad Leader AAR After Action Reports since 2013
Blogging Advanced Squad Leader AAR After Action Reports since 2013
Blogging Advanced Squad Leader AAR After Action Reports since 2013
Advanced Squad Leader (ASL) Tournament
Blogging Advanced Squad Leader AAR After Action Reports since 2013
Blogging Advanced Squad Leader AAR After Action Reports since 2013
RitterKrieg Home
"A15.1 The cauldron of battle, which destroyed so many units that failed the test of arms, could also forge better soldiers and/or acts of desperation borne of heroism or despair."
An ASL Tournament held in West Dover, VT October 29-November 1, 2026
