Kenneth Katz is a member of the designer team for MMP’s groundbreaking Korean module – Forgotten War. This is Ken’s response to Mark Pitcavage’s extensive critique of MMP’s Korean module – Forgotten War. I find it so interesting by its own right that I asked Ken’s for his permission for HKWG to carry it. While you can certainly read Mark’s critique first, I am sure you will get a lot out of this even if you read it as a “standalone”. I certainly did. These two learned gentlemen certainly make our ASL lives richer with their exchange.
 On behalf of the Forgotten War design team, I want to respond to Mark Pitcavage’s recent review of that module on his highly regarded ASL website Desperation Morale. Obviously, we have a protective attitude towards Forgotten War. Its development dominated much of our free time over the years (for some over 18 years!) and Mark’s critical review is less than pleasing to us as a team. However much we disagree with elements of the review, we want to commend Mark for his thorough critique.
The Forgotten War core design team consisted of Mike Reed, Ken Katz, Paul Works, Andy Hershey, and Pete Dahlin. Each brought a very strong skill set to the team and our differing styles and capabilities meshed well. The Forgotten War extended team included approximately thirty additional participants from across the globe; all such participants were included in the Korean War ASL Yahoo Group and had access to all development material, to include the rules. Any intimation (or direct statement) that development was done in isolation is false.
Mark’s discussion of the history of the product is generally correct up to a point but does not accurately describe the relationship between Forgotten War and the Kinetic Energy ASL module which was never published. It is true that one of the co-designers, Mike Reed, worked with Mark Neukom on the Kinetic Energy design and we are certain that earlier work influenced Mike’s contributions to Forgotten War. Personally, my only connection with the Kinetic Energy design was a 5-minute glance at it. The major design elements of Forgotten War, including Steep Hills and the CPVA rules that we created, did not come from Kinetic Energy. This is true for all the other core Forgotten War team members as well. Furthermore, the Kinetic Energy style did not mesh well with MMP’s vision for ASL, so a new design was necessary since a primary of objective of this project was to design a product that would become “official.” MMP put the product under contract in 2011. It then waited in MMP’s development queue for several years, with intensive work resuming around 2015 and publication in late 2017.
Steep Hills and Semi-Geomorphic Mapboards 80-83:
Korean terrain had a tremendous influence on the conduct of the Korean War. Through research, it became apparent that the existing variety of ASL terrain types did not represent the tactical effects of much militarily significant Korean terrain. The result was the Steep Hills rules (W1.3), which could be described in a nutshell as doing to Hills what the Dense Jungle terrain does to Woods. The essential requirements of Steep Hills were to deny off-road movement for vehicles, burden infantry movement particularly by heavily laden troops, and provide some protection because the terrain is broken. Note that such terrain is not unique to Korea. Terrain with such characteristics can be found in places as diverse as Afghanistan, Italy and Israel. The use of Steep Hills terrain puts a premium on infantry and greatly restricts the use of heavier support weapons and vehicles, which is accurate for many Korean War battles. The mapboards not only represent the hills and valleys which were the sites of many Korea War valleys, but the topography of those mapboards combined with the Steep Hills rules mean that there are ample opportunities for an attacker to infiltrate and withdraw while being protected from enemy fire. Using Forgotten War boards and Steep Hills terrain, a defender cannot just sit on peaks with a MG and sweep the hill clean of attackers, and that was very much the intent. Taken as a whole, the rules and mapboards provide the “design for effect” that was intended and reflected the team’s research.
Chinese People’s Volunteer Army (CPVA):
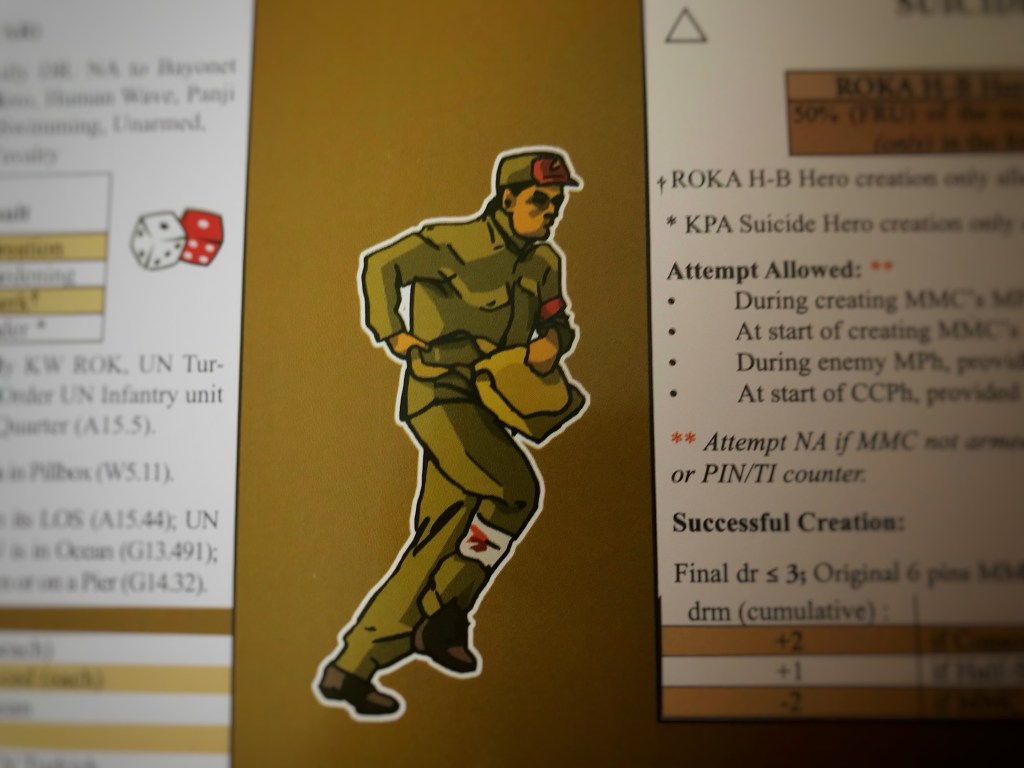
Probably Mark’s most serious objection to the Forgotten War design is the CPVA. Before addressing the finer points of the CPVA rules (W7), we should preface our responses with several “big picture” points. The CPVA was a major combatant that fought in distinctive ways that deserves distinctive nationality characteristics. All nationality characteristics are exaggerated stereotypes, but that does not mean that they don’t have a significant element of truth. The best way to appreciate the CPVA in Forgotten War is not to focus on each rule but to see how the totality of the CPVA rules, the scenario orders of battle, and the scenario victory conditions combine to incentivize the CPVA player to fight the CPVA in accordance with its distinctive doctrine and tactics. The portrayal of the CPVA in Forgotten War was based on extensive research that utilized a wide range of sources. These included numerous historical books/narratives by Western (U.S., British, Canadian, French, Belgian, etc.) authors using multiple original sources; U.S. Army historical documents, to include multiple, previously-classified documents; U.S. Army operations research books/documents that included analyses of operations and interviews with CPVA personnel; South Korean historical documentation; and multiple books by Chinese authors. The CPVA’s representation was available to the entire, extended Forgotten War team. Scenarios and Chapter H content were informed by a Chinese-speaking team member that had access to additional Chinese-language source material.
The intent of the portrayal of the CPVA in Forgotten War was to represent several characteristics of that force: its mass, its willingness to tolerate very high casualties, the primitive nature of its communications and logistics, and its tactical doctrine which emphasise closing with the enemy. The latter both leveraged the strengths of the force and reduced the ability of its enemy to use its superior artillery and airpower. In the interests of brevity, we won’t take a deep dive into every rule, but we believe that to those who understand the CPVA and the CPVA rules in Forgotten War, the logic behind the rules makes sense. Needless to say, far from denigrating the CPVA, the Forgotten War rules and scenarios in combination show the CPVA to be a formidable foe.
CPVA Step Reduction:
The following represent the primary reasoning elements we used to select Step Reduction (W7.21) to represent the CPVA. Taken individually they are evidential and indicatory. Taken as a whole, and leveraging existing ASL rules constructs, Step Reduction was the answer.
- Prisoner ratio. Using estimated casualty numbers, we have the following historical percent-of-casualties data (i.e., these percentages show the percent of total casualties that prisoners represented): Allies WW2 (Pacific Theater) 24%; Japanese WW2 2.2%; CPVA KW 2.8%. Although more than moderately suggestive, these estimates do not address a number of related considerations (such as the huge number of Chinese troops freezing to death vice being combat casualties).
- Numerous personal narratives from KW participants about CPVA troops weathering huge amounts of firepower and still coming. Sort of like being berserk in ASL, except they were not berserk and could change what they were doing when commanded to do so (i.e., they did not just always charge right toward the nearest enemy).
- Accounts of many CPVA soldiers, who would begin a charge/human wave (HW) unarmed, picking up the weapons of their dead/wounded comrades and continuing forward. Some similar accounts appear in descriptions of Russian HWs (in Stalingrad, for example); in the CPVA case, however, the descriptions do not describe large numbers of Chinese troops breaking. Going to ground and melting away, yes. Large groups of them breaking and running away (like what can result in a standard ASL HW), no.
- The political indoctrination and presence of POs in even the smallest units had a major impact on how the CPVA troops behaved. They were more motivated by such indoctrination than typical Russian troops and were motivated as such to continue on in the face of significant casualties.
- Step Reduction is an existing ASL rule that will be familiar to most intermediate- and advanced-level ASL players.
Initial Intervention:
CPVA Initial Intervention squads represent troops armed with weapons obtained from the Nationalists (GMD) and the Imperial Japanese Army. The Soviet-Armed squads represent troops armed with Soviet weapons, primarily “burp guns,” which is what Americans called the Soviet-supplied PPSh submachine gun and its Chinese-manufactured version Type-50. The dates given in W7.12 and W7.13 are a simplification; the Soviet-Armed squads will not be available before April 1951, but the Initial Intervention squads obviously do not all instantly disappear or rearm after that date.
The CPVA that intervened in late 1950 in Korea lacked any significant amount of radios and motor transport. In general, CPVA troops on the front line during that period suffered terribly from cold, hunger, and lack of ammunition, the latter being exacerbated by the wide range of ammunition types used by the variety of weapons in the CPVA arsenal. That primitive and deficient CPVA communications and logistics generally caused the effects portrayed in W7.11 is no surprise. Nor is the absence of OBA during that time period surprising, given that artillery is particularly dependent on good communications and ammunition supplies. Of course, a scenario designer can add an SSR when these generalisations did not apply.
Leadership:
The CPVA leadership model in Forgotten War (W7.3) is not a slight against the quality of CPVA leadership any more than similar leadership models are intended to denigrate Finnish and Japanese leadership. Again, look at the big picture rather than each element of the module in isolation. The leadership model that was chosen by the designers works well with the rest of the rules for the CPVA.
CPVA AFVs:
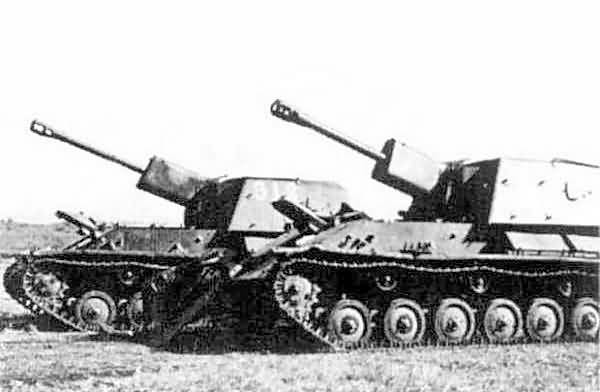
Later in the war, the CPVA did have a significant armored force in Korea. However, the only evidence of which we aware that claims this force (as opposed to the odd captured UN AFV being used) was actually engaged in combat with UN forces is traceable to one Chinese claim. We discovered no American after-action reports that describe losses to American armor caused by Chinese AFVs (one suggestive original source claims that Chinese tank guns were firing at U.S. troops; but after care examination of related sources, it is appears these “high-velocity rounds” were from direct-fire artillery). It’s axiomatic in military history that measures of one’s own losses are usually more reliable than claims of losses inflicted on the enemy. We disagree with Mark that including counters for vehicles that were present in theater but never saw combat is a good use of a finite number of countersheet spaces. If a scenario designer chooses to portray CPVA armor in a scenario, he can use Russian T-34/85, JS-2 and SU-76M counters. In addition, MMP informed us that if a counter did not see action it does not go in the box.
CPVA AA Guns:
As the war progressed, the CPVA became well equipped with AA guns. Such AA guns rarely were present in the front line within the scope of a typical ASL scenario. If a scenario designer chooses to portray CPVA AA guns in a scenario, he can use Russian 37mm and 85mm AA guns. Again, finite countersheets forced choices.
Night Rules:
It is true that Forgotten War has a lot of night scenarios for the simple fact that the Korean War had a lot of night actions. The US Army today likes to say that “We Own the Night” because of its excellent technology and proficient use of that technology. But during the Korean War, that technology did not exist and the Communist enemy preferred to fight at night because it tended to negate American advantages in artillery and airpower. Mark does not like the current night rules in E1 and laments that the Night rules were not revised in Forgotten War. But there is an unwritten but very real policy in “official” ASL that new additions to the ASL system must be backwards compatible with the existing system, including counters, rules, and scenarios. Making general ASL changes was simply outside the scope of Forgotten War.
Searchlight Combat:
Searchlight operations played a major part in the later stages of the Korean War. As mentioned previously, the CPVA used massed night attacks to mitigate American firepower and were very effective. The longest retreat in U.S. military history (U.S. Eighth Army in late 1950) was a direct result of effective CPVA manoeuvre and envelopment…at night. Searchlights took that advantage away from the Chinese.
Our research uncovered that searchlight tactics used against the Chinese were so effective that searchlight-equipped M46 and Centurion tanks became primary artillery targets, especially during the Battles for the Hook. Hide and seek tactics were developed. Tanks operating in pairs or groups. Shutters that could be opened and closed very quickly to minimize highlighting/silhouetting. We worked very hard to replicate these tactics in the rules. Searchlights are certainly chrome. That said, leaving them out or oversimplifying them would have been neglected a tactically significant aspect of the Korean War.
Two-Tone Counters:
Mark doesn’t like two-tone counters. De gustibus non est disputandum (“In matters of taste, there can be no disputes”), but we have been around the ASL community for 25 years and have never been aware of a significant group of players who don’t like two-tone counters (as opposed to the vocal opponents of overlays and terrain altering SSRs). The problem is that the sorts of colors that suit ASL counters (various shades of brown, tan, green, blue, and gray) are already taken, unless you want to either use minor and nearly indistinguishable variations of shade (which some find difficult to see) or use colors which just don’t seem to fit the game. Lavender counters, anybody? Furthermore, the use of two-tone counters has other advantages. ROK and Other United Nations Command forces were equipped by the US. Since their counters have a green border like American counters, they easily can use American SW, Guns, and Vehicles. The CPVA counters have a brown border like Russian and GMD counters, and they can easily use both Russian and GMD SW, Guns and Vehicles. In fact, MMP requires designers to fit their numbers of counters within a finite number of countersheets, and two-tone counters for some nationalities reduces the requirements for counters.
Small Forces: Rangers, American Paratroopers, Royal Marine Commandos, and Korean Marines:
Rangers, American Paratroopers, Royal Marine Commandos, and Korean Marines are unabashed chrome. These all were interesting forces that can be represented with very little rules overhead. Mark doesn’t seem to like this kind of chrome. The Forgotten Wars designers disagree. Judging by the plethora of obscure yet fascinating things in the system, so do most ASL players. Rangers and Royal Marine Commandos were true elite special operations troops, and their capability in Forgotten War are indicative of their training. The 7-4-7 American paratroop squads in World War II imply that those troops had a high percentage of submachine gun-armed soldiers. American paratroopers in the Korean War were armed with the M1 Garand rifle and not many submachine guns, hence the 6-6-7 value.
Rules Pertaining to Bayonet Charges and VT Fuzes:
Bayonet Charges were in fact occasionally used by UN forces in the Korean War. The inclusion of the rule in Forgotten War is simple and appropriate. Variable Time (VT) Fuzes for field artillery were first used by the U.S. Army in the Battle of the Bulge. They had an important effect on that battle and were very valuable in Korea when defending fortified positions against massed infantry attacks. Again, the rule in Forgotten War is simple and appropriate.
Rules Pertaining to HEAT and Bazookas:
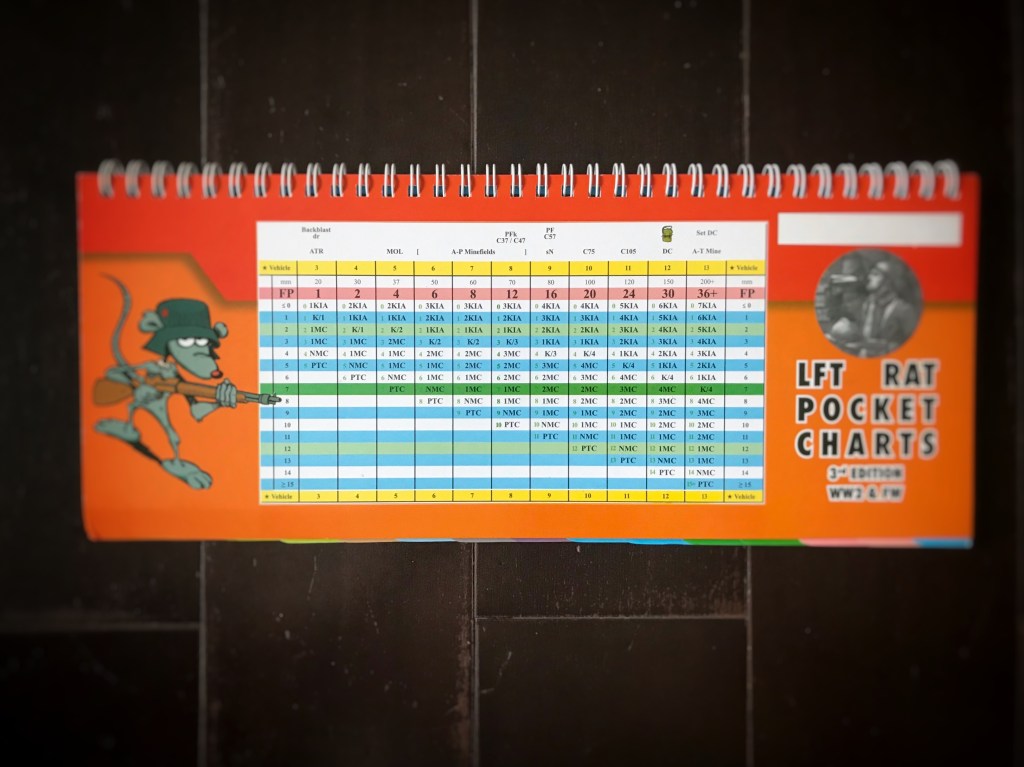
The ASL armor penetration rules (C7) are fundamentally flawed and unrealistic in that they significantly misrepresent the actual interaction between ammunition and vehicle targets. Unfortunately, it is wildly impractical to do a wholesale overhaul of those rules, given the imperative of “backwards compatibility” and to maintain relative simplicity (if anyone has ever played the fun but very-detailed Tractics they know the issue). But the Forgotten War designers had a problem. The BAZ45, which equipped US Army and ROK troops in 1950, is somewhat effective against the T-34/85 in ASL. However, in 1950 Korea, the M9A1 launcher and M6A3 rocket which are represented by the BAZ45 counter were notoriously ineffective against that target. This is not an issue of chrome. The difference between ASL and historical performance greatly affected certain scenarios and had a real-life tactical impact. As a result, the Forgotten War designers chose to use rules W.8 and W.8A to model this important effect while avoiding an undesirable revision to C7.
Errata:
Players will observe that the astonishingly small amount of errata for Forgotten War is a testament to the combined efforts of the designers, the playtesters, and MMP.
In Conclusion:
The designers of Forgotten War remain confident that they have created an accurate, playable, and high-quality portrayal of ground tactical combat in the Korean War that fits well in the ASL system.
Kenneth Katz
Listen to Kenneth Katz’s interview on the 2HalfSquads: Episode 187 Kool Katz in Korea


 On behalf of the Forgotten War design team, I want to respond to Mark Pitcavage’s recent review of that module on his highly regarded ASL website Desperation Morale. Obviously, we have a protective attitude towards Forgotten War. Its development dominated much of our free time over the years (for some over 18 years!) and Mark’s critical review is less than pleasing to us as a team. However much we disagree with elements of the review, we want to commend Mark for his thorough critique.