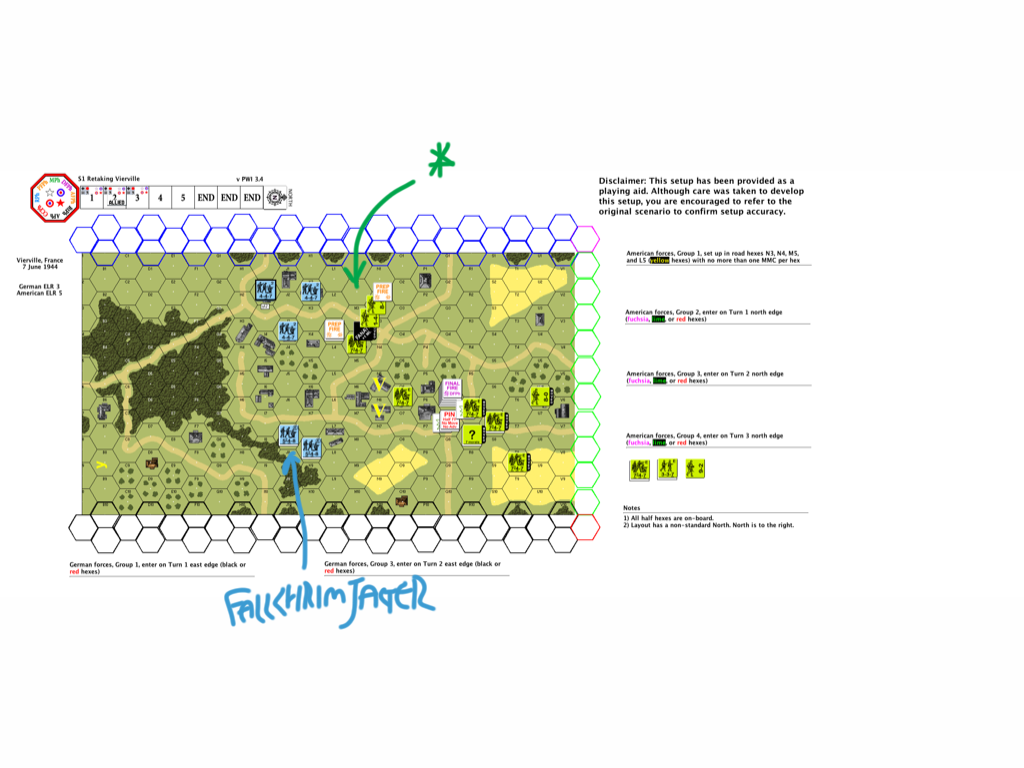
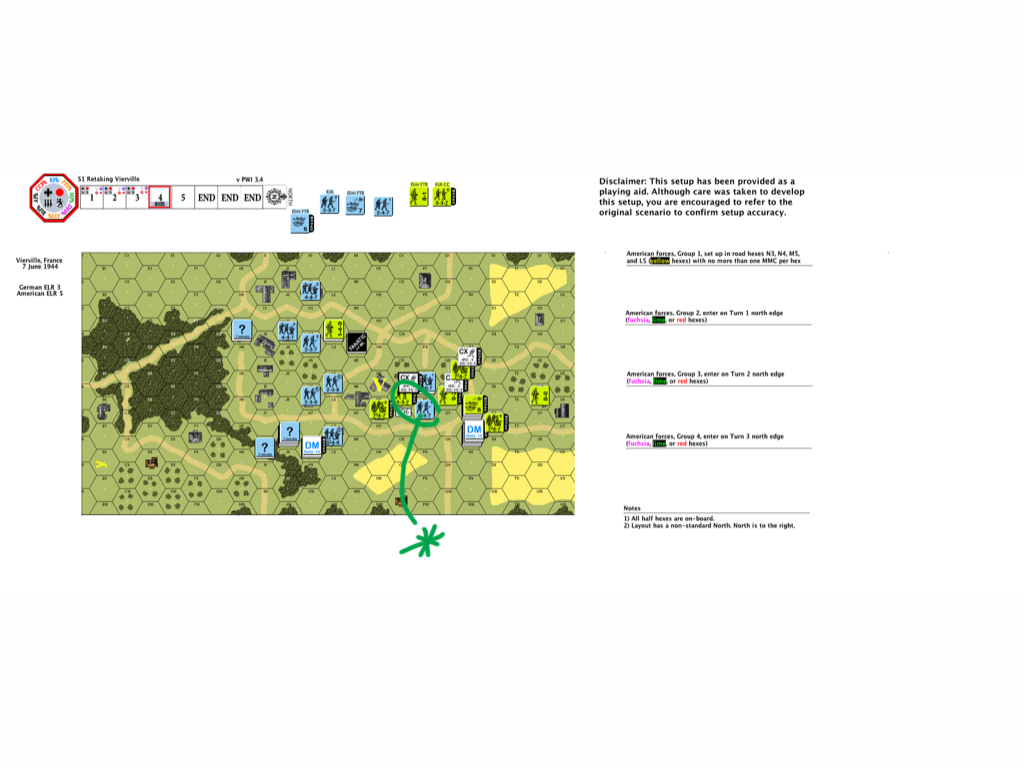
Turn 1 American Movement Phase

General Eisenhower speaks with members of the 101st Airborne Division on the evening of 5 June 1944 (Photo credit: Wikipedia)
A lot of us has played this Advanced Squad Leader Starter Kit scenario a few times before. This infantry only scenario offers a purist’s exercise in fire and manoeuvre. It also offers both sides the opportunity to attack and to defend. It is my default warm up scenario with any new PBeM opponent, a chance for us to learn about each other before we embark on more complex scenarios.
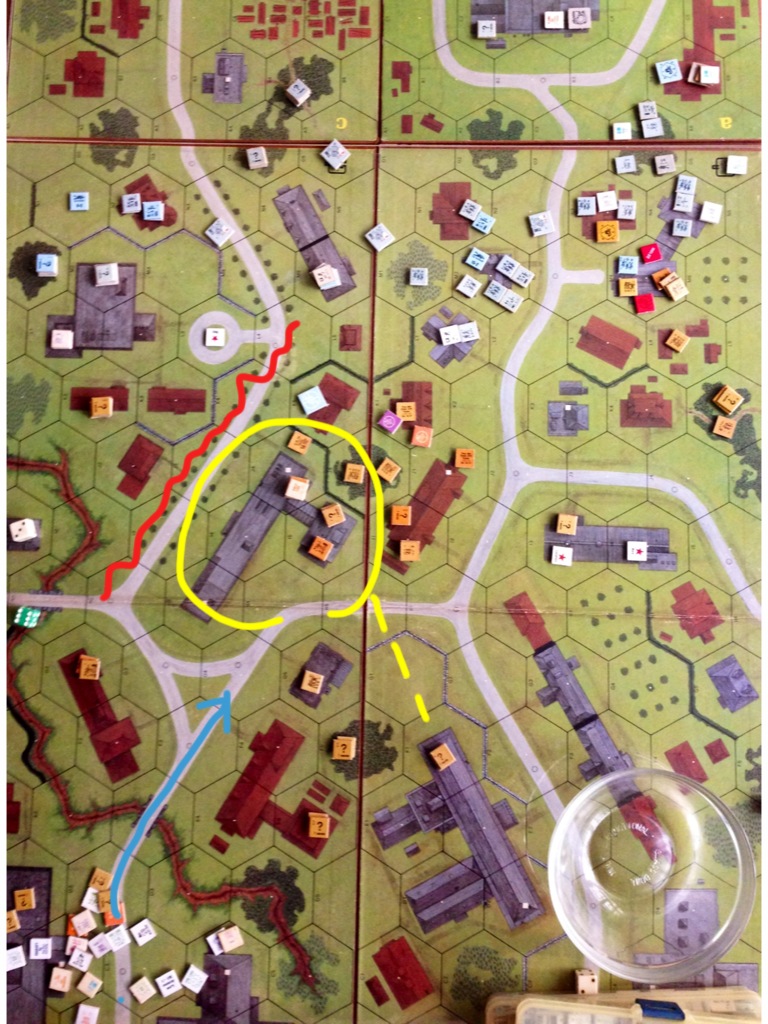
This time I play the Germans and we played with Advanced Squad Leader rules (not Starter Kit rules). In the picture above you see the Germans (blue counters) having returned to the village from the west (top) and the east (bottom). The American 101st Airborne (green counters) reacted by scattering to the buildings on both sides of the key interaction. Some of the American reinforcements had already appeared to the north (right).
As the Germans, the mission for the 1058th Grenadiers in the east (bottom) is to use the open ground to delay the American reinforcements as much as possible. The mission for the 919th Grenadiers is to do the same from the west (top). They were to buy enough time for the tough 6th Fallshirmjäger (paratroopers) Regiment to arrive from the east and take at least one of the four key buildings (circled in red) in the intersection to fulfil this scenario’s winning requirement.

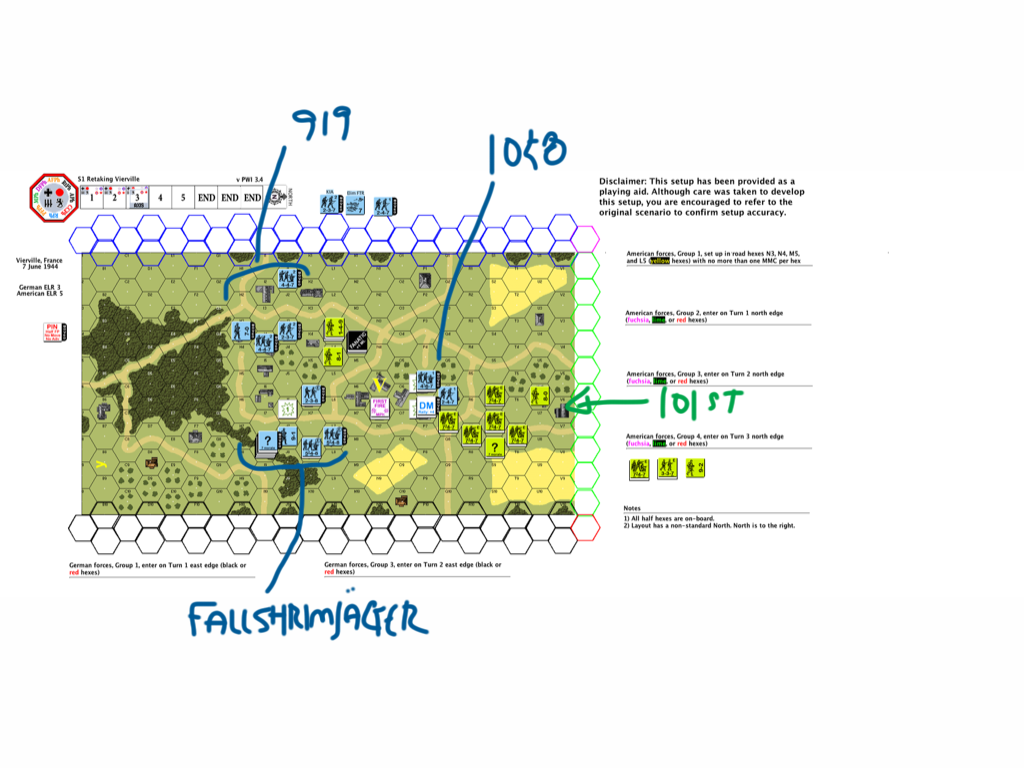
Turn 3 German Movement Phase
Buildings P2 on the top (right) of the map and R7 on the bottom (right) of the map proved to be invaluable in delaying the Americans (both marked in yellow). At the same time the newly arrived 6th Fallschirmjägers planned to isolate the left side of the battlefield from buildings K6 & K8 (circled in red). Their compatriots made the first of three attempts to storm across the street into the key buildings to the right of the intersection. The Screaming Eagles‘ fearsome firepower would make that an exercise in futility. The other German paratrooper platoon sped up the woods on the left towards the top of the map.

Turn 4 German Movement Phase
Again the German paratroopers on the bottom of the map stormed across the street. The 1058th Grenadiers to the right of that building cluster provided diversion. They were still holding the American reinforcements at bay across the open fields though. The squads in building P1 (top) and R7 (bottom) held strong. A Fallschirmjäger platoon was making its way to the top of the map where the Americans in the two key buildings on the southwest (top) of the battlefield felt increasingly isolated.

Turn 5 American Movement Phase
This is the last Movement Phase in the game. The Germans paratroopers succeeded in capturing one (red) of the four key buildings on the map in Turn 4, thus already fulfilling the victory conditions. The American reinforcements on the right went all out. The German squads in our top and bottom stone buildings fought a desperate fight but were very thankful of their training in the use of spraying fire.
They held on.
There’s a great deal of material on the internet around this scenario:
- “Holding onto Vierville – ASL Scenario Strategy” by Brian Youse
- “ASLSK : S1 Retaking Vierville AAR” in GameSquad by Brien Martin
- AAR – ASL SK1 Scenario #S1 – Retaking Vierville in KoffeeKlub
- After Action Report #1 – S1 – Retaking Vierville in Triple Point Blank Fire
I am on more than a few PBeM scenarios at the moment. Some of which has to do with the PTO even, just in time for the release of Rising Sun. When they finish you’ll be the first to see the AARs.
Take care!